Application Bar


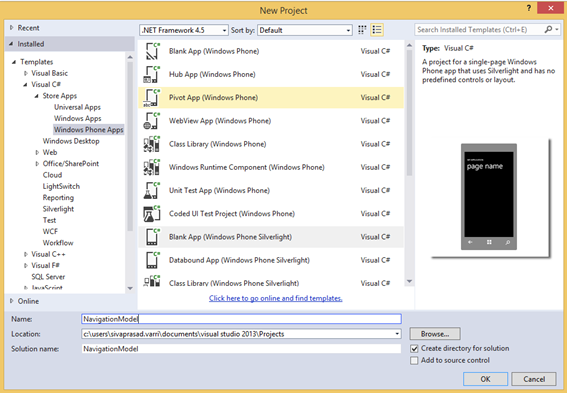
Create a new project by selecting File menu > New Project or short-cut keys Ctrl+Shift+N.
Choose Windows Phone Template, and change project name as "AppBarDemo"
- Application Bar is a pop up panel at the bottom of the application page.
- Application Bar contains four buttons, which allows to perform some action.
- Application Bar can not be hidden by the keyboard or other elements. when we open application bar, it will be covered entire page with transparency is set 1, then the application bar covers the screen, using transparency effect.
- Application Bar to provide users with quick access to an application’s most common task.
Application Bar UI:
- By default application bar is a row of icon buttons and ellipsis along the bottom of the application.
- The application bar has built in animation that is displayed as the menu is shown or hidden.
- Application Bar automatically adjusts when the phone changes orientation.
- if application bar in minimize, it’s looks like
- if we click on ellipsis on application bar
Menu Items:
- We can add one or more text based menu items.
- The menu items are used for application actions that are less frequently used.
- The text of the menu items is automatically converted to all lower-case characters.
- If we add menu items in application bar.
Application Bar Syntax:
<phone:PhoneApplicationPage.ApplicationBar>
<shell:ApplicationBar>
<shell:ApplicationBarIconButton Text="Play" IconUri="[Path]" />
</shell:ApplicationBar>
</phone:PhoneApplicationPage.ApplicationBar>
Menu Item syntax:
<phone:PhoneApplicationPage.ApplicationBar>
<shell:ApplicationBar>
<shell:ApplicationBar.MenuItems>
<shell:ApplicationBarMenuItem Text="About"/>
<shell:ApplicationBarMenuItem Text="Help"/>
</shell:ApplicationBar.MenuItems>
</shell:ApplicationBar>
</phone:PhoneApplicationPage.ApplicationBar>
Application bar properties:
- Mode : Specifies the size of the Application Bar when it first appears on a page, default or minimize.
- Opacity : opacity values are between 0.0 and 1.0. The opacity of the application bar can be adjusted, but we recommend that you use only values 0.0, 0.5 and 1.0.
- 0.0 means the Application Bar is completely transparent, the Application Bar laid over the page, so application page is not resized.
- 0.5 means the Application Bar is partially transparent, the Application Bar laid over the page, so application page is not resized.
- 1.0 means the Application Bar is completely not transparent, Application Bar covers the current page, the Application page is resized to the area of the screen not occupied by Application Bar.
- BackgroundColor : We can set the background color to Application Bar.
- ForegroundColor : The foreground color of Application Bar, this color affected to icon buttons, labels, and the menu item text.
- IsMenuEnabled : it’s a boolean values , it’s indicates whether user can see the menu items when they expand the Application Bar.
- IsVisible : Indicates whether the Application Bar is visible.
Guidelines
- Use the Application Bar instead of creating your own menu system.
- Use default system theme colors for the application bar, if we use custom colors for application bar can affect the display quality of the button icons.
- Avoid using long text for menu items because that text will run off screen. The recommended maximum length is between 14 to 20 characters.
- Avoid using more than five menu items on an Application Bar, because it will force to user to scroll.
Global Application Bar
- Global Application Bar can be reused on multiple pages in our application.
- In App.xaml page, we need to create application bar as a static resource.
Syntax:
<Application.Resource>
//Application Bar
</Application.Resource>
Demo:
Create an application for Application Bar Demo
MainPage.xaml:
- We can create page level Application Bar , Add bellow code in PhoneApplicationPage
<phone:PhoneApplicationPage.ApplicationBar>
<shell:ApplicationBar>
<shell:ApplicationBarIconButton Text="Previous" IconUri="/Assets/transport.rew.png" />
<shell:ApplicationBarIconButton Text="Play" IconUri="/Assets/transport.play.png" />
<shell:ApplicationBarIconButton Text="Next" IconUri="/Assets/transport.ff.png" />
<shell:ApplicationBar.MenuItems>
<shell:ApplicationBarMenuItem Text="About"/>
<shell:ApplicationBarMenuItem Text="Help"/>
</shell:ApplicationBar.MenuItems>
</shell:ApplicationBar>
</phone:PhoneApplicationPage.ApplicationBar>
App.xaml:
- We can create App Bar for application level (global application bar), we need add Application as a resource in App.xaml. Add bellow code in App.xaml page
<Application.Resources>
<shell:ApplicationBar x:Key="globalAppBar" IsMenuEnabled="True">
<shell:ApplicationBarIconButton Text="Previous" IconUri="/Assets/transport.rew.png" />
<shell:ApplicationBarIconButton Text="Play" IconUri="/Assets/transport.play.png" />
<shell:ApplicationBarIconButton Text="Next" IconUri="/Assets/transport.ff.png" />
<shell:ApplicationBar.MenuItems>
<shell:ApplicationBarMenuItem Text="About"/>
<shell:ApplicationBarMenuItem Text="Help"/>
</shell:ApplicationBar.MenuItems>
</shell:ApplicationBar>
</Application.Resources>
ReuseAppBar.xaml:
Add page to existing application, that you can reuse App Bar ( i.e.
ReuseAppBar.xaml )
Add bellow code in PhoneApplicationPage
ApplicationBar="{StaticResource globalAppBar}"
ReuseAppBar.xaml )
Get source code for AppBarDemo